Home › Setup & Comfort › How to Adjust Your E-Bike
Checking a specific bike? Our e-bike standover height database lists every published standover figure we can source from manufacturer specs, sorted lowest first — plus the popular models that publish no figure at all.
⚡ Key takeaway: Most e-bikes can be adjusted significantly — seat height, handlebar height, and stem angle — without any special tools. A proper fit takes 15 minutes and can transform a “close enough” bike into one that feels custom-built for your body.
Why Short Riders Need a Different Setup
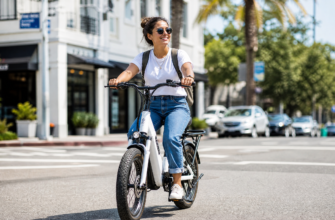
E-bikes are typically set up at the factory for a “median” rider — usually around 5’8″. When a rider who’s 5’2″ sits on that same bike without adjusting it, they’re reaching too far forward, their seat is too high, and their weight is distributed incorrectly. The result is shoulder pain, back strain, and a feeling of being “perched” on the bike rather than in control of it.
The good news: most of these problems are fixable with simple adjustments. This guide walks through each adjustment in order of importance, with exact measurements for riders at each height.
Step-by-Step Adjustment Guide
Set the Correct Seat Height
Seat height is the single most important adjustment. Too high and you’ll rock your hips with every pedal stroke, straining your lower back. Too low and you’ll lose power and put stress on your knees.
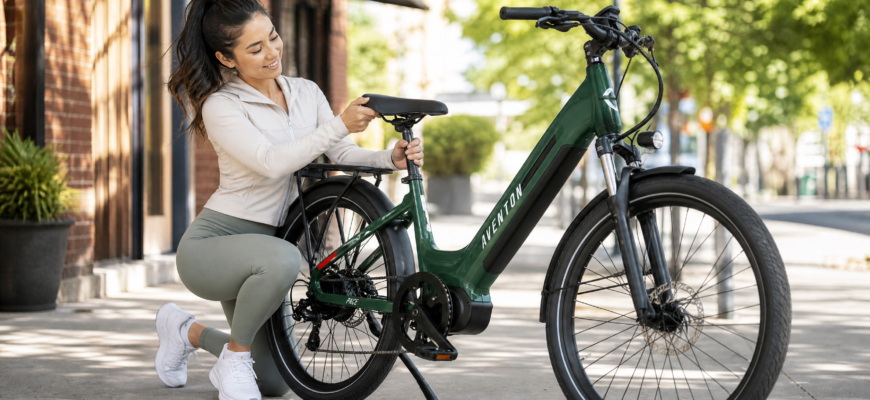
How to find your correct seat height: Sit on the bike with your heel on the pedal at its lowest point. Your leg should be fully extended (but not locked). When you move your foot to the ball-of-foot position, you’ll have a slight bend in the knee — this is correct.
| Rider Height | Inseam (approx.) | Target Seat Height | Ground Contact |
|---|---|---|---|
| 5’0″ (152 cm) | 26″–27″ | 25″–26.5″ | Both feet flat |
| 5’1″ (155 cm) | 27″–28″ | 26″–27.5″ | Both feet flat |
| 5’2″ (157 cm) | 28″–29″ | 27″–28.5″ | Balls of feet |
| 5’3″ (160 cm) | 29″–30″ | 28″–29.5″ | Balls of feet |
| 5’4″ (163 cm) | 30″–31″ | 29″–30.5″ | Toes only |
| 5’5″ (165 cm) | 31″–32″ | 30″–31.5″ | Toes only |
Adjust Handlebar Height
Most e-bikes have a stem with a quill or threadless design that allows 2–4 inches of height adjustment. For short riders, raising the handlebars reduces forward lean, which relieves pressure on the wrists, shoulders, and neck.
Target position: Handlebars should be at or slightly above saddle height for a comfortable, upright riding position. If you’re primarily commuting or riding casually, err on the side of higher handlebars.
If your bike’s stem doesn’t allow enough height adjustment, a stem riser adapter (available for $15–$40) can add 2–4 more inches of height. These are compatible with most standard 25.4mm and 31.8mm stems.
Check and Adjust Reach
Reach is the horizontal distance from the saddle to the handlebars. For short riders, this is often the most overlooked adjustment — and the most common source of discomfort on longer rides.
If you feel like you’re constantly leaning forward or stretching to reach the bars, the reach is too long. Solutions include: (1) moving the saddle forward on its rails (2–3 cm max), (2) replacing the stem with a shorter one (e.g., 60mm instead of 90mm), or (3) using a stem with a negative rise angle.
Set Brake Lever Position
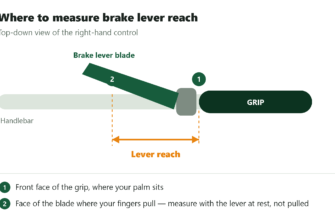
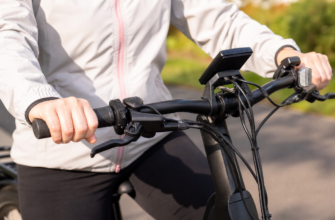
Brake levers on most e-bikes are positioned for average-sized hands. Short riders often have smaller hands, which means the lever reach (the distance from the bar to the lever) may be too large — requiring you to stretch your fingers to brake, reducing control and causing fatigue.
Most hydraulic brake levers have a reach adjustment screw (usually a small hex bolt near the lever pivot). Turning it clockwise reduces the distance to the bar. Aim for a position where you can comfortably wrap two fingers around the lever without stretching.
Adjust Saddle Fore-Aft Position
The saddle can slide forward and backward on its rails, typically 2–3 cm in each direction. For short riders with a shorter torso, moving the saddle slightly forward can reduce effective reach without changing the stem.
Correct position: When the pedal is at the 3 o’clock position (horizontal forward), your kneecap should be directly above the pedal axle. This is called the KOPS (Knee Over Pedal Spindle) position and is the standard starting point for saddle fore-aft adjustment.
Tools You’ll Need
| Tool | Used For | Cost |
|---|---|---|
| 4mm hex key (Allen wrench) | Seat post clamp, stem bolts | $5–$10 |
| 5mm hex key | Handlebar clamp, brake lever bolts | Included in most sets |
| Measuring tape | Checking seat height | $3–$8 |
| Torque wrench (optional) | Tightening carbon components safely | $25–$60 |
When Adjustments Aren’t Enough
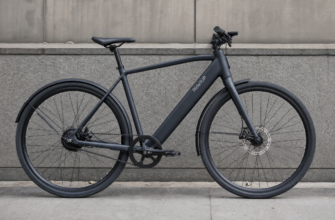
If you’ve made all the adjustments above and still feel uncomfortable, the bike may simply not be the right fit for your body. The most common scenario: the minimum seat height is too high for your inseam, meaning no amount of adjustment will let you touch the ground safely.
In that case, consult our Fit Guide to find bikes with better fit specs for your height, or see our top picks for short riders where every bike has been evaluated against our fit criteria.